Adding liquidity to @ociswap liquidity pools
Incentives
While SPLASH 2.0 is being audited, SPLASH 1.5 serves as an interim liquidity mining campaign.
Start Date: October 16th, 2023 - 0:00 UTC
Wave Duration: 7 days, starting Monday at 0:00 UTC and ending Sunday at 23:59
Eligibility: All liquidity providers across every liquidity pool on Ociswap
Rewards: 100,000 $OCI per wave
Distribution: pro rata
Prerequisites
- Radix Wallet installed (video tutorial)
- Radix Connect installed and linked to wallet (video tutorial)
- A token of your choice + some XRD
First of all, be sure that you installed Radix Connect and linked your wallet properly. If you haven’t done so yet, check out https://wallet.radixdlt.com/
- Go to Ociswap DEX | The Front Page of Radix and select a pool you want to add liquidity to. In this tutorial I am going to use OCI/XRD (because who doesn’t love OCI??)
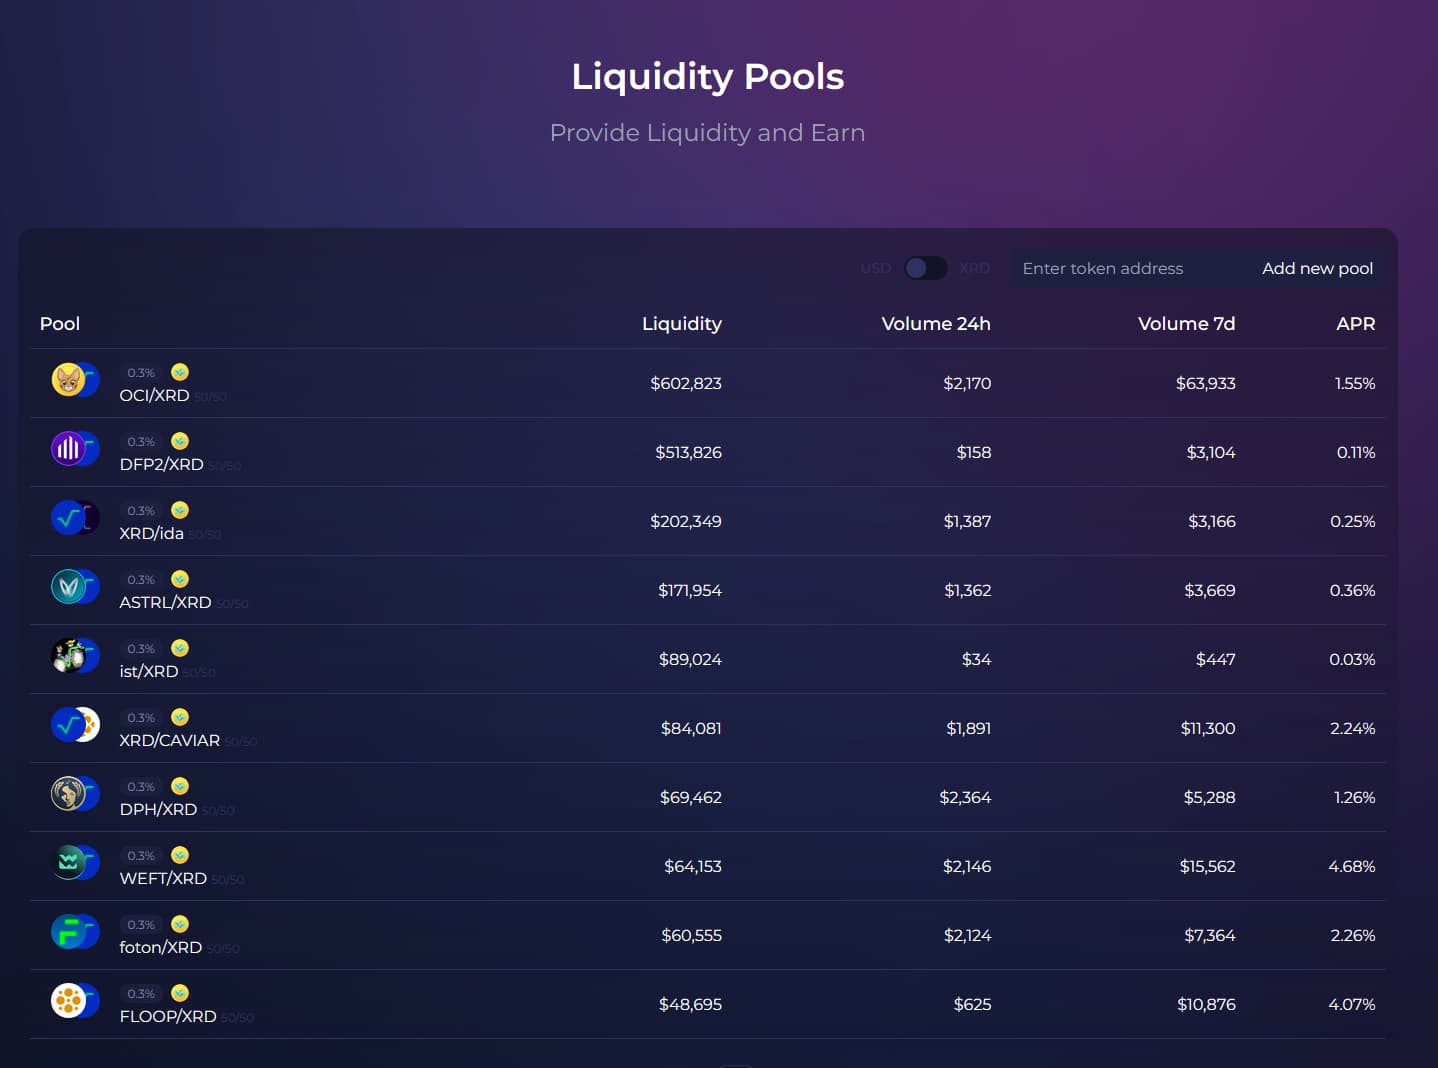
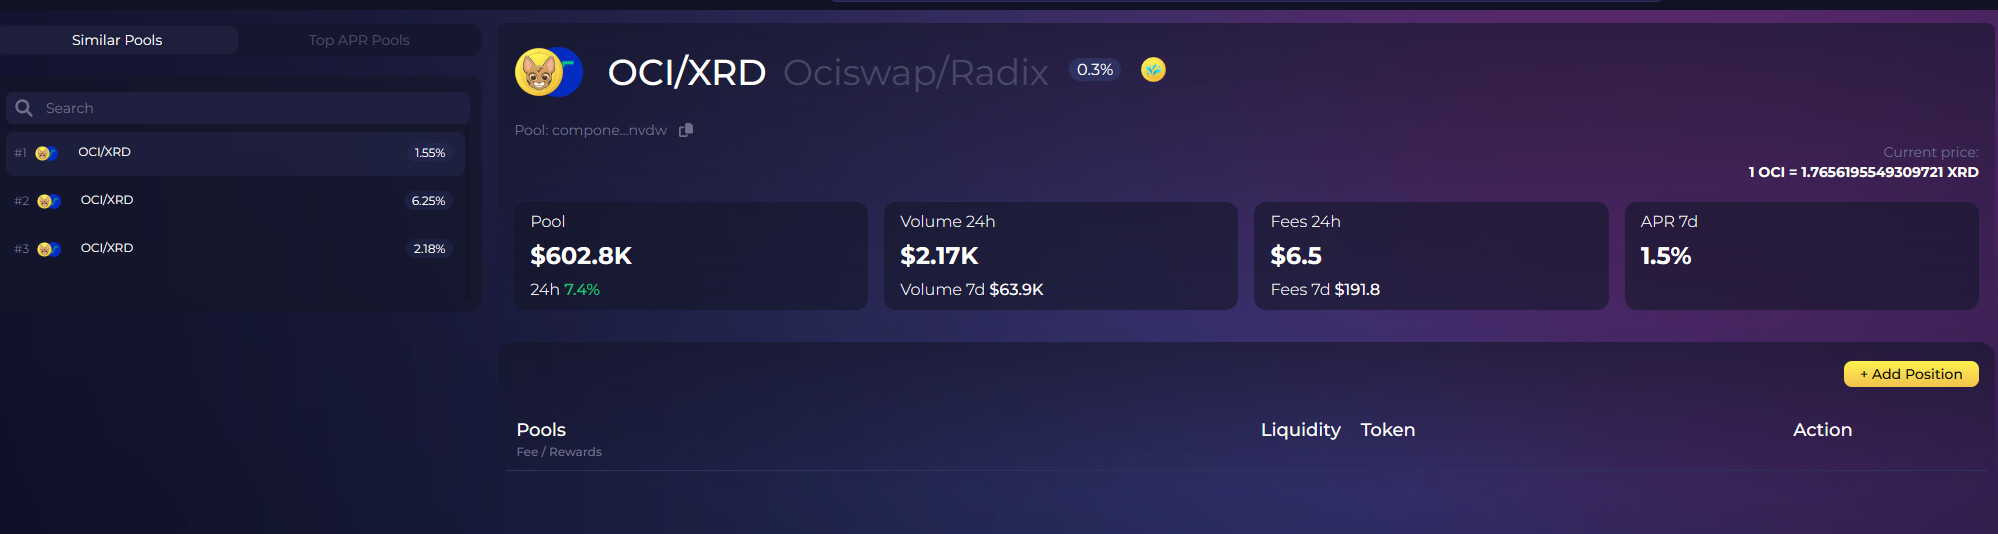
- You should now see an overview of the pool, click on “add position” to get started
NOTE: you could see multiple pools for a pair (left side of the screen), with different pool fee and different APR.
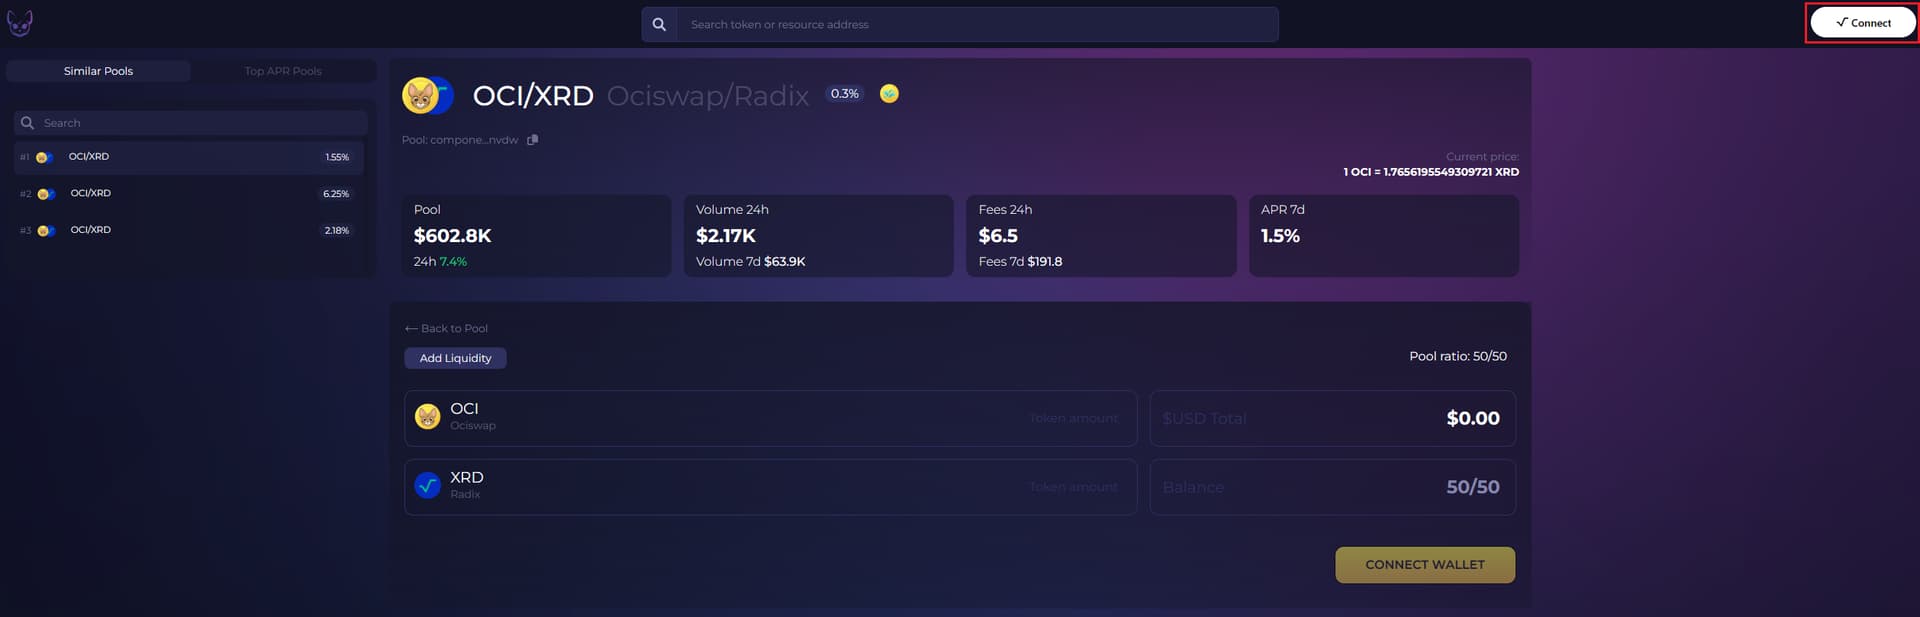
- Now it’s time to connect our wallet, click on the top-right “Connect” button
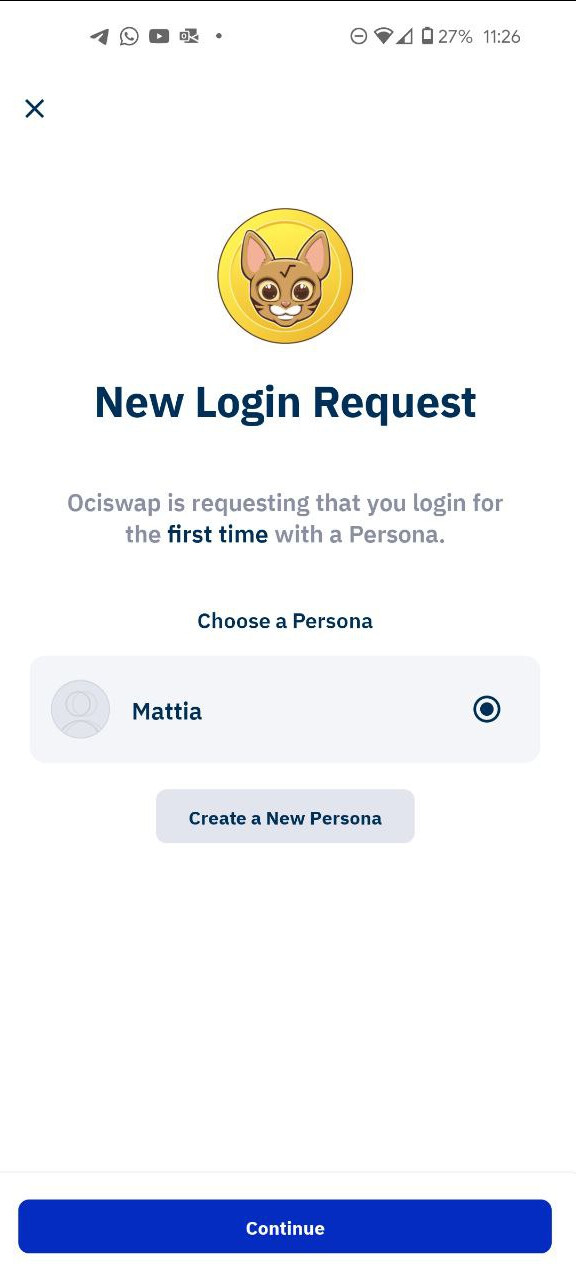
- Now go to your Radix Wallet on your phone and approve the login request from the Ociswap dApp by choosing which persona to use.
If you haven’t created a persona yet, you have to do so now. You also need to choose at least one wallet to link to that persona.
- If, like me, you haven’t tried Ociswap dApps yet but you have Olympia-style tokens, proceed by clicking “update your tokens”

- Approve the transaction from your phone.
Click to see some Radix *magic*
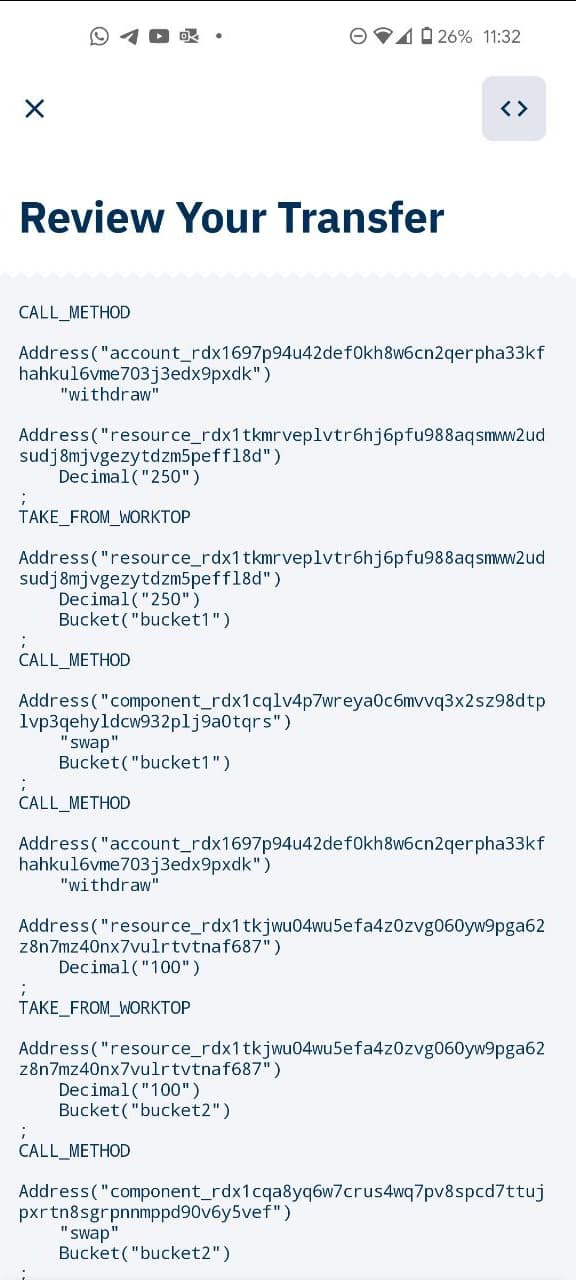
You can also click on the top right “<>” icon to see the code of the transaction manifest you’re about to submit, how cool is that!
- If you still see the “update tokens” alert, refresh the page and you should now be able to see the proper “add liquidity” panel:
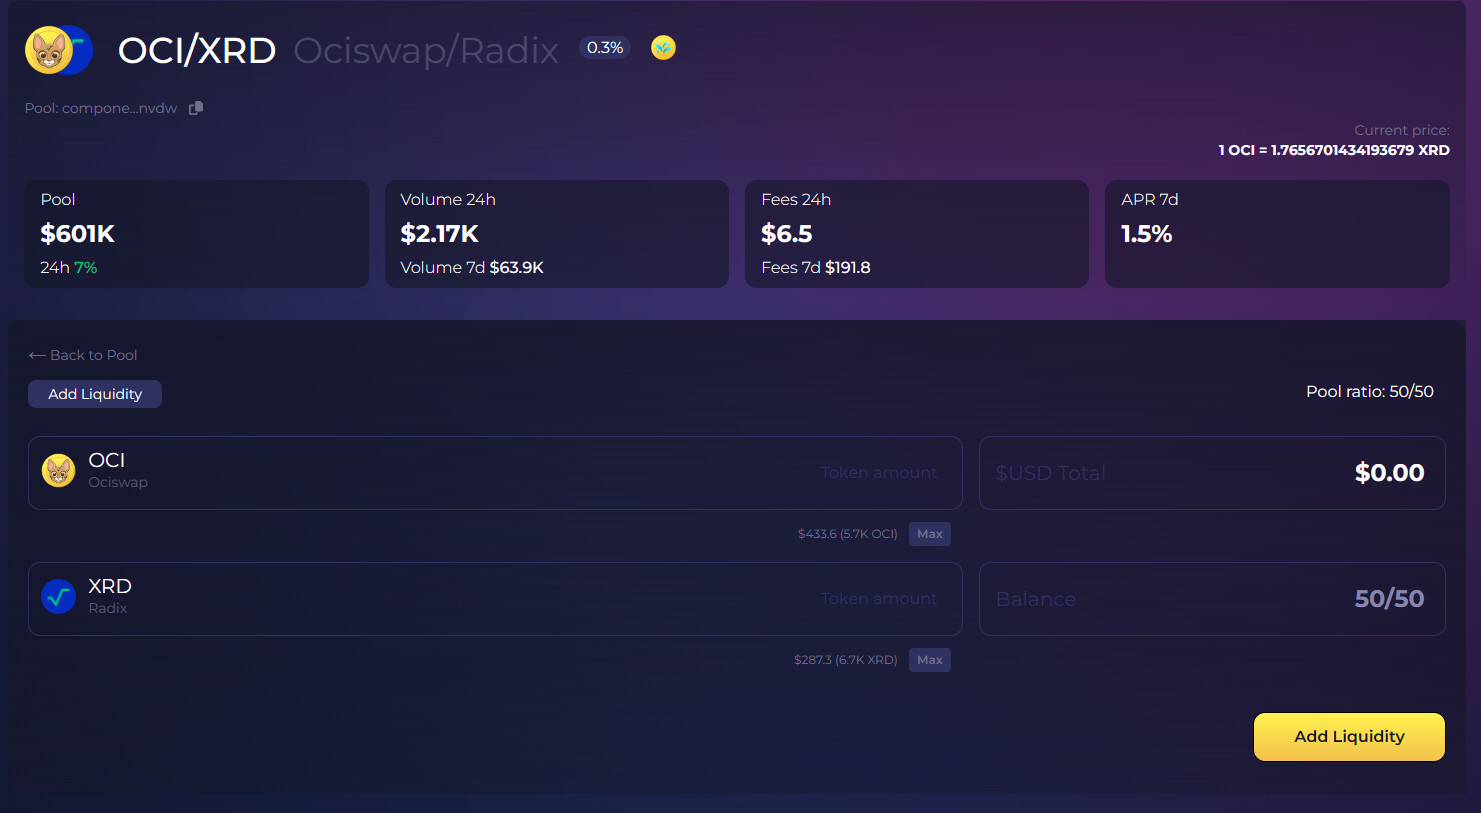
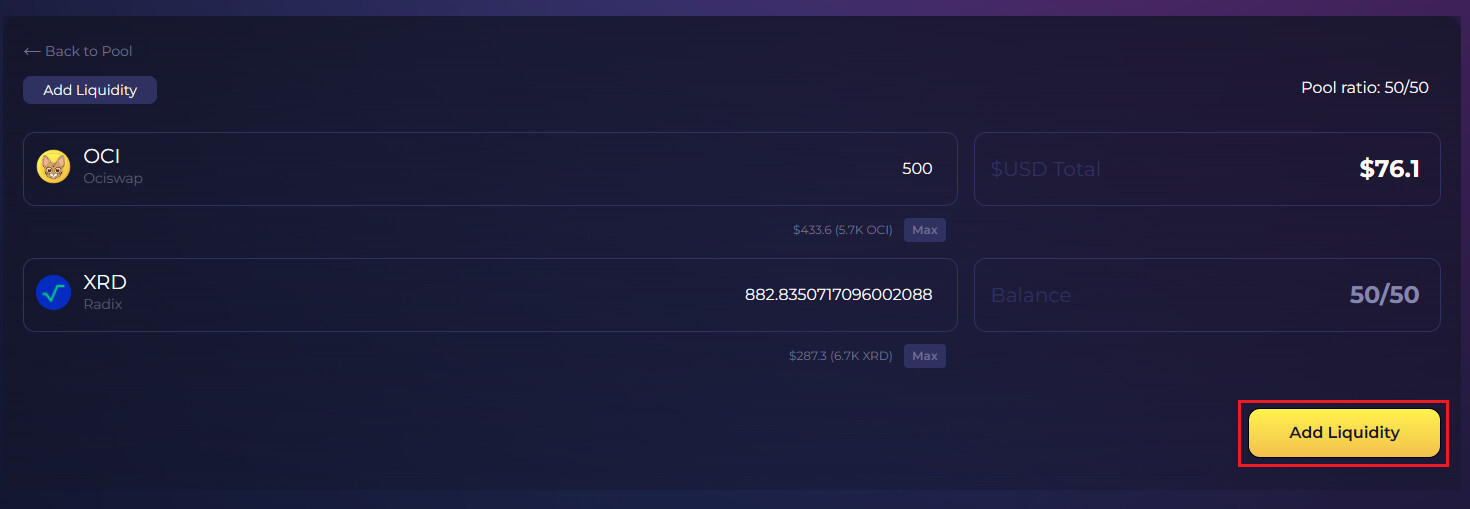
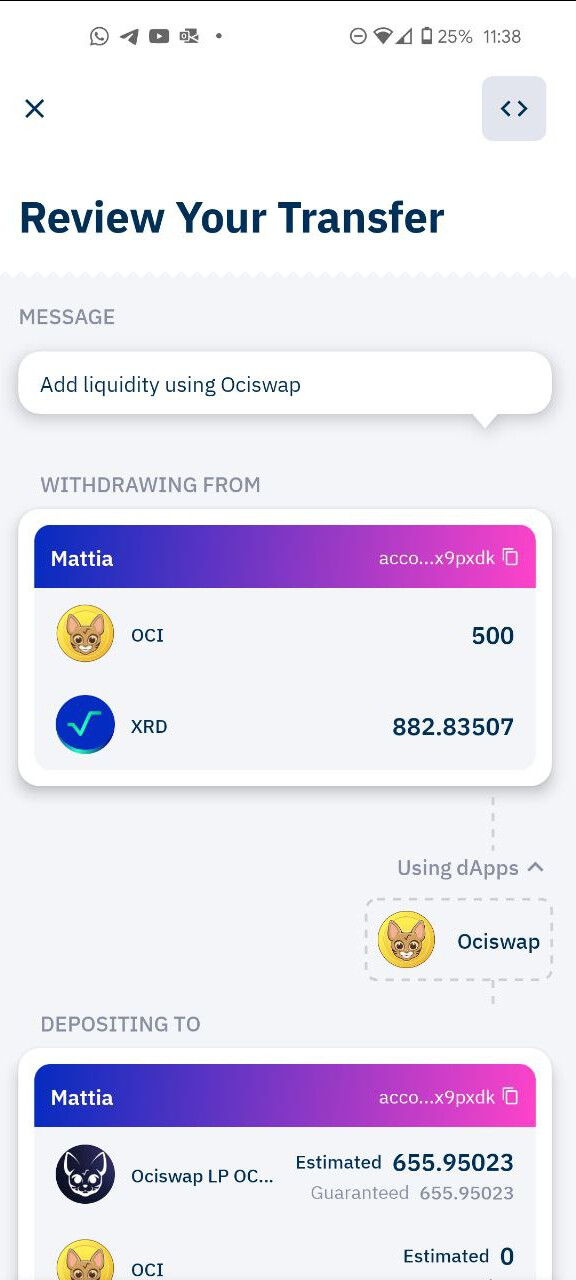
- The pool ratio is at a fixed 50/50 so just enter how many OCI (or XRD) you want to add to the pool and the dApp will calculate how many XRD (or OCI if you entered XRD) you also need to add.
Then click the yellow “add liquidity” button.
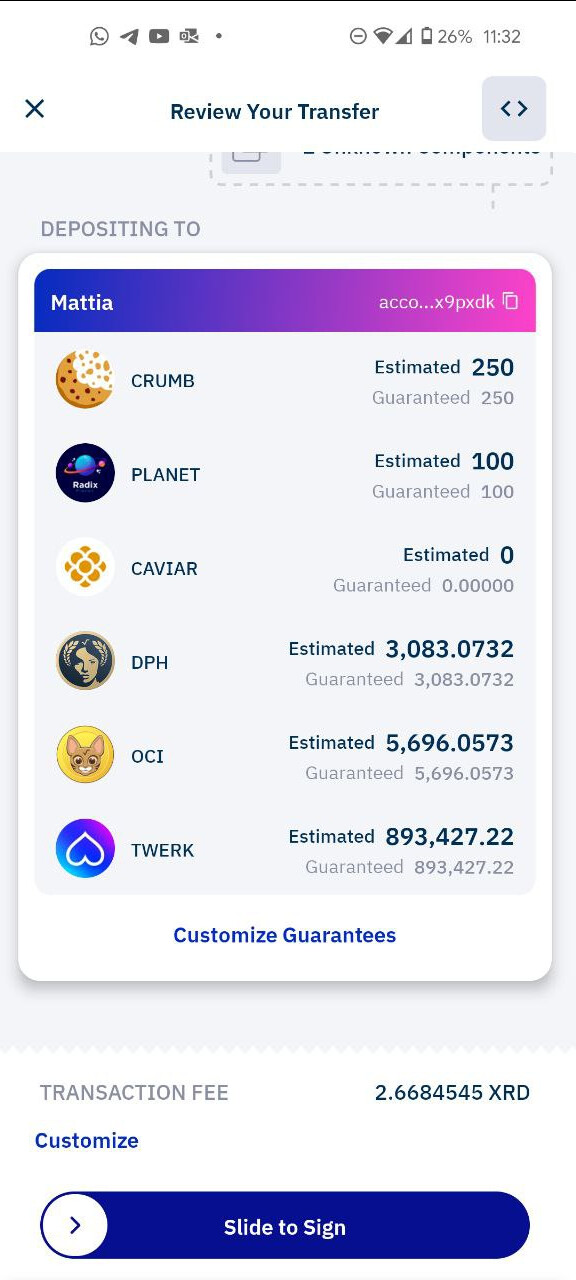
- Go back to your Radix Wallet on your phone and sign the transaction.
- Refresh the Ociswap dApp webpage and you should see your position in the liquidity pool.

You can click on the “Add” button to add more liquidity or the “-” button to remove some (you can enter a custom amount or choose 25%, 50%, 75%, and MAX).
![]() Congratulations! You have now added your tokens to the liquidity pool.
Congratulations! You have now added your tokens to the liquidity pool.
You also helped improve Radix visibility by increasing the TVL (read more here: Increasing Radix TVL = Greater Visibility)
To learn more about Ociswap liquidity pool, check out their docs.